
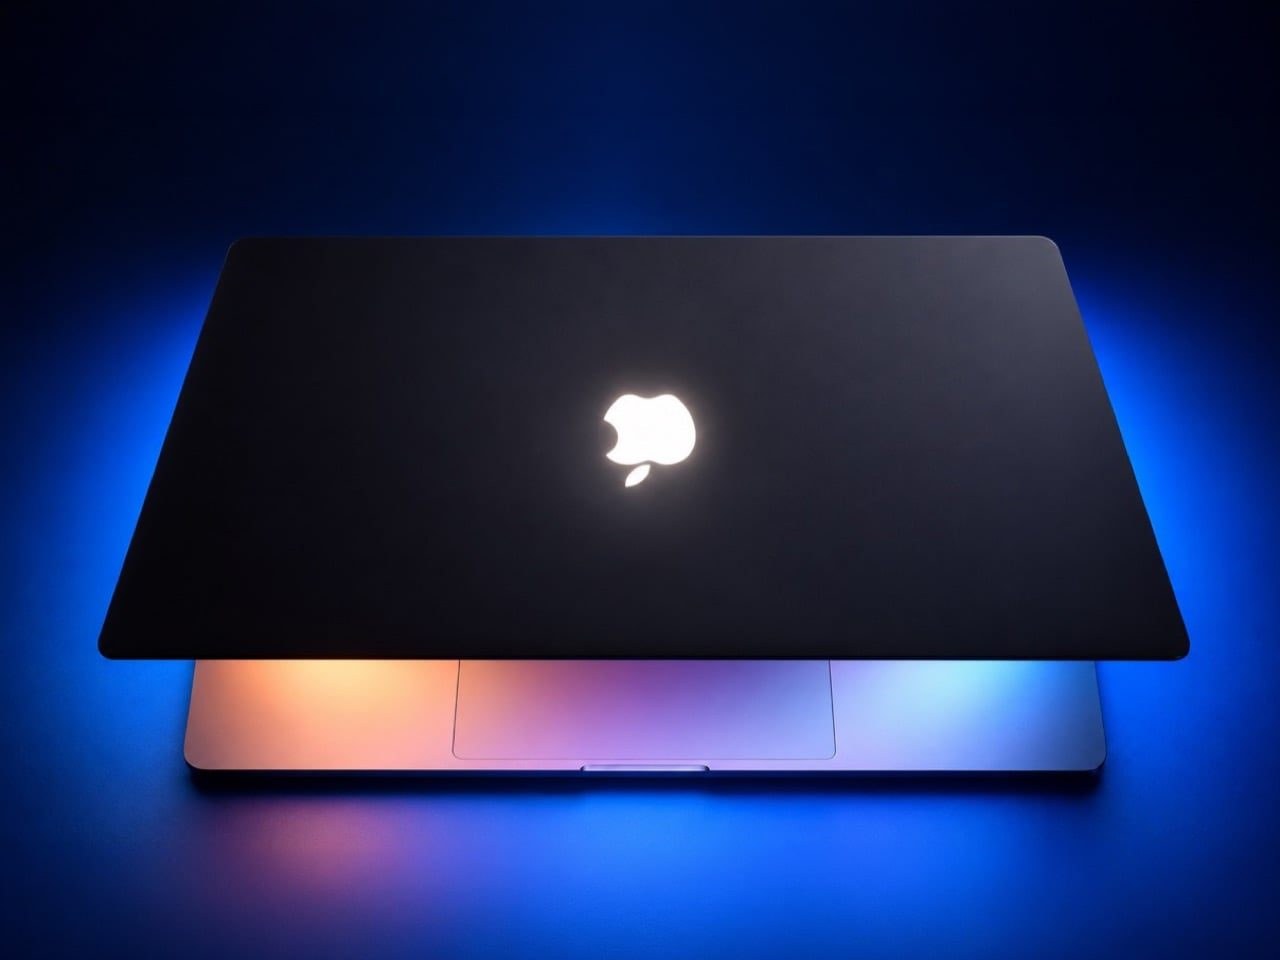
 cheap iPhone screen protector serves as the mold face, a hack so inexpensive it feels borderline illegal. For years, the glowing Apple logo turned every laptop into a tiny lighthouse in coffee shops, classrooms, and airport lounges before Apple killed it on the 12-inch MacBook in 2015 and on the Pro in 2016, swapping the glow for a polished mirror that does nothing but reflect your own face. A decade later, the new MacBook Pro with PROLED XDR brings the light back, starting at $2,899.
Anatomy of a Garage Mod
A YouTube channel called Various Disassembly Methods cracked a way to get that glow on a Touch Bar MacBook Pro, and it needs no LEDs and no wiring. You start with the display assembly detached from the laptop, then go after the bezel strip printed with "MacBook Pro" along the hinge. A dab of ethanol and a heat gun soften its adhesive, so thin spudgers can lift it free, followed by the rubber corner trim and every T3 Torx screw along that edge.
Heat the panel’s perimeter next and slide a thin metal spatula through the glue between the LCD and the aluminum lid. Lift the panel from the bottom edge, unplug its two connectors, and coax the top edge loose last. Expect bits of the old panel to break off along the way, which is why you will need a heat gun, serious patience, and a brand-new LCD, since you’ll likely crack the original on the way out. With the LCD gone, what’s left in the lid is the entire backlight, which on this generation lives in the aluminum shell itself.
Peel off the optical films, then slide out the acrylic light guide plate, a clear sheet that spreads light from edge-mounted LEDs across the whole screen, then lift the mirror-finish reflector. Beneath those sit black sheets, and under them, the reason you’re here. The polished Apple logo is a separate insert glued into an apple-shaped hole in the lid, so heat it from outside, push firmly, and pry from inside until it pops out. Seeing your work mat through a MacBook lid feels deeply wrong and extremely satisfying.
Pouring the Resin and Borrowing Light
Mix up two-part clear epoxy for the new logo window, measuring it per the instructions on a kitchen scale and stirring like your life depends on it. Before pouring, stick a cheap iPhone tempered glass screen protector over the logo hole on the outside of the lid. That glass becomes the mold face, so the resin cures flat and glossy, flush with the aluminum around it. Pour from the inside slowly, guiding the epoxy with a toothpick, and stop before it overfills so the back stays flat. Chase any trapped bubbles with a gentle pass of the heat gun, which thins the resin enough for the air to escape.
Once the resin cures, peel the screen protector away to reveal a clear apple sitting flush in the lid. Tempered glass makes an inspired mold, since it is dead flat, removable, and costs next to nothing. The last design move is a small cutout in the black sheet behind the logo, which gives the backlight a path straight to the resin. Everything else goes back the way it came out, with an air gun clearing dust between layers and the films facing their original direction. Install a brand-new LCD last, power up, and your Apple glows for the first time in its life.
Will Your Machine Survive the Cut?
The screen is the whole test, because the mod borrows light the display already makes. Any MacBook with a backlit LCD has a light source sitting directly behind the logo, waiting for an exit. That covers the Touch Bar Pros, the edge-lit LCD MacBook Air, the older 13-inch Pros, and the mini-LED 14-inch and 16-inch Pros. On most of these, the job should come down to the same eviction: pop the glossy logo insert, cast the resin window, and clear a path to the backlight. Mini-LED machines, which replace the edge strip with thousands of tiny LEDs directly behind the panel, have a different internal stack, so expect a different teardown even if the idea holds.
The new MacBook Pro with PROLED XDR is the one model this mod can’t touch, because OLED pixels light themselves and there’s no backlight to borrow. Apple already gave that logo its own glow, so nobody’s losing sleep. The $599 MacBook Neo has the backlit LCD this mod needs, but its logo is matte and cut into the aluminum surface, with no insert to pop out. Getting a glow there means machining or laser cutting an apple-shaped opening through the lid, which turns a weekend craft project into a fabrication job. Pull it off, though, and you’d own a $599 laptop doing the one party trick Apple saved for its new OLED machines.
What does this mean for your desk? If you are running an older machine and enjoy high-risk garage craft, you can bypass a $2,899 upgrade with a tube of epoxy and a heat gun. Just remember that you are replacing a functioning screen panel on a gamble for a glowing piece of plastic.
Side by side
T3 Torx screws and a heat gun turn the MacBook Pro display disassembly into an operation that inevitably destroys the original glass panel. Unlike the factory setup of the new $2,899 MacBook Pro with a PROLED XDR screen, where the illuminated logo is built in by design, the DIY mod forces the total sacrifice of the screen to reach the optical layers underneath. Bypassing the high price tag relies on scavenging the display's own backlight through transparent epoxy resin molded against cheap iPhone tempered glass. Nostalgia for the iconic glowing Apple logo comes at the inevitable cost of buying a replacement screen.